How to create a frame or a bookmark
Use Frames, Bookmarks and Links to make a flexible navigation path across all boards in your project.
Share links to frames to demonstrate the most important parts of the board to your teammates.
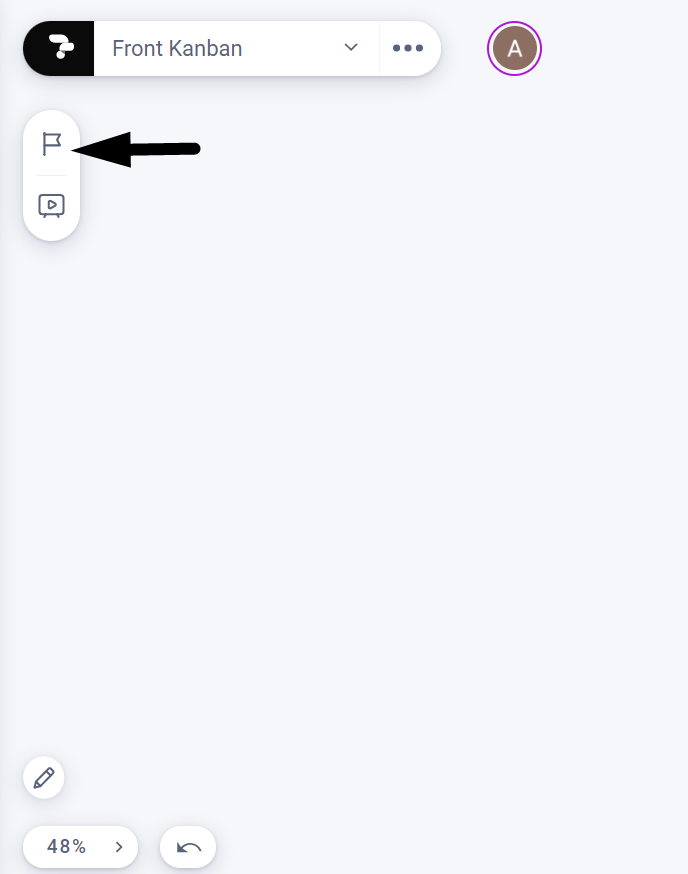
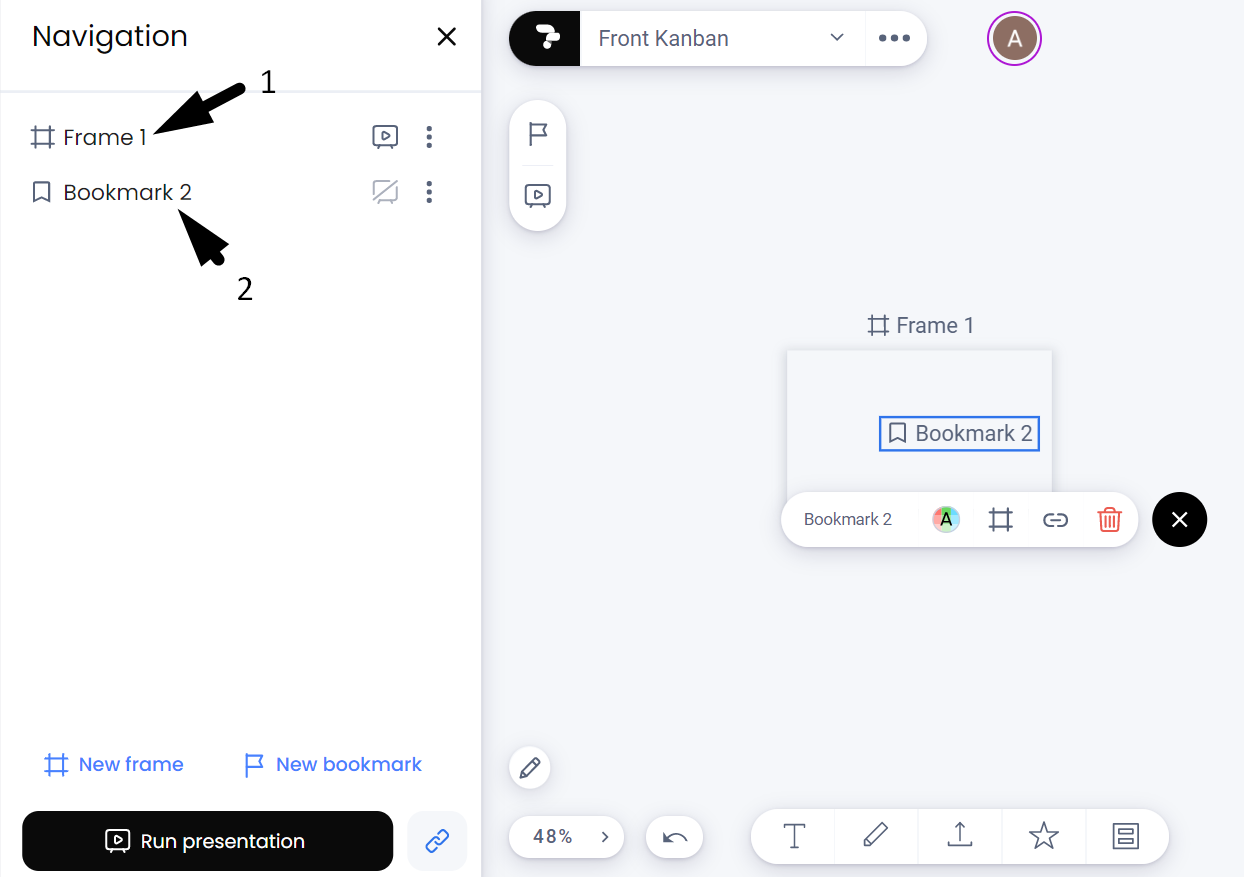
In the Navigation panel (which is available on all your boards), you can access your frames and bookmarks.
How to create a frame or a bookmark?
You can create a new frame or a bookmark with the buttons at the bottom of the panel.
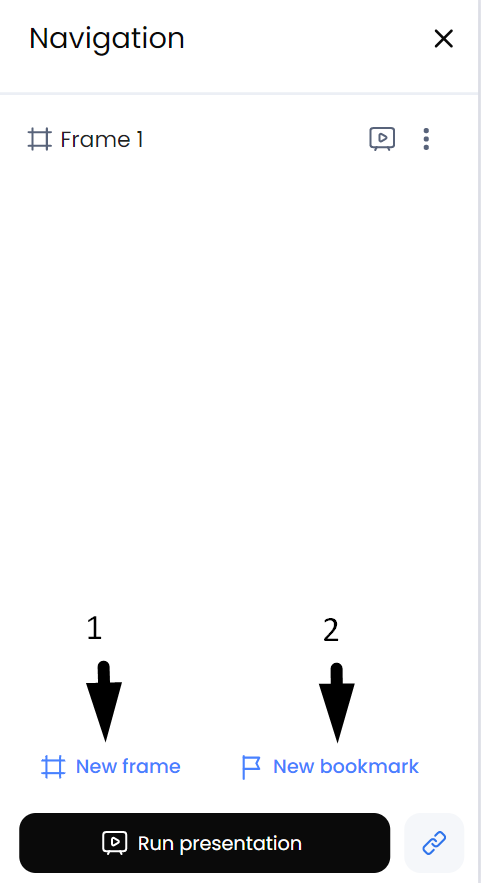
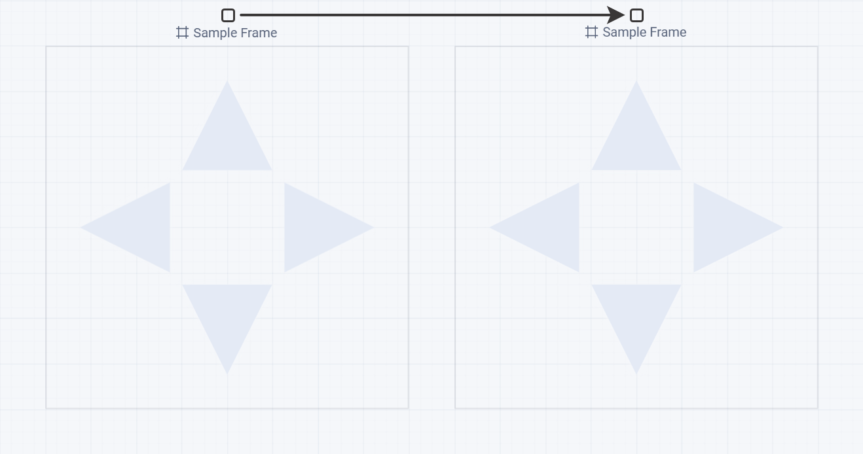
Click on the frame name in the list to show its contents in the scale that fits the screen size. The frame may be zoomed in or out to display 100% of its content. So easily click in the list (1) or (2) to see where your frame or bookmark and the system will navigate/jump to its place on the board. The board scale will reset to 100% automatically.
Bookmarks may be used as road or navigation signs throughout the board.
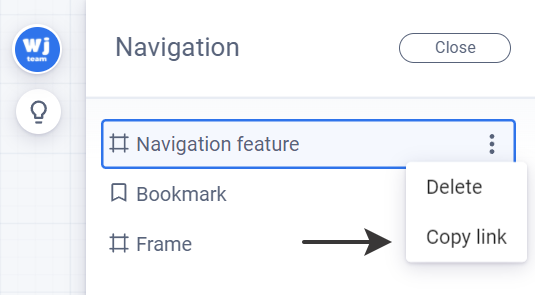
A direct link to a frame or a bookmark can be generated the same way as for any other object on the board.
You can create a link in the context menu of the selected object or in the navigation panel.
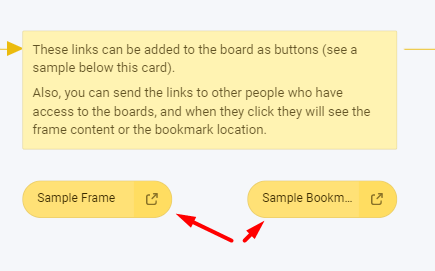
These links can be added to the board as buttons (see a sample below this card).
Also, you can send the links to other people who have access to the boards, and when they click they will see the frame content or the bookmark location.
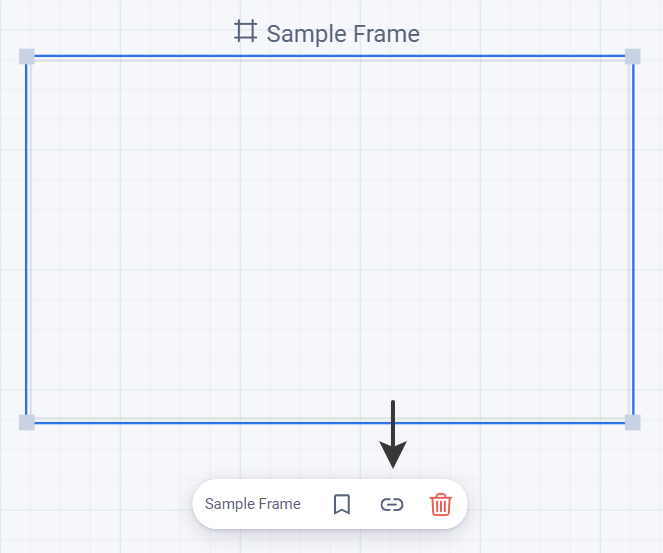
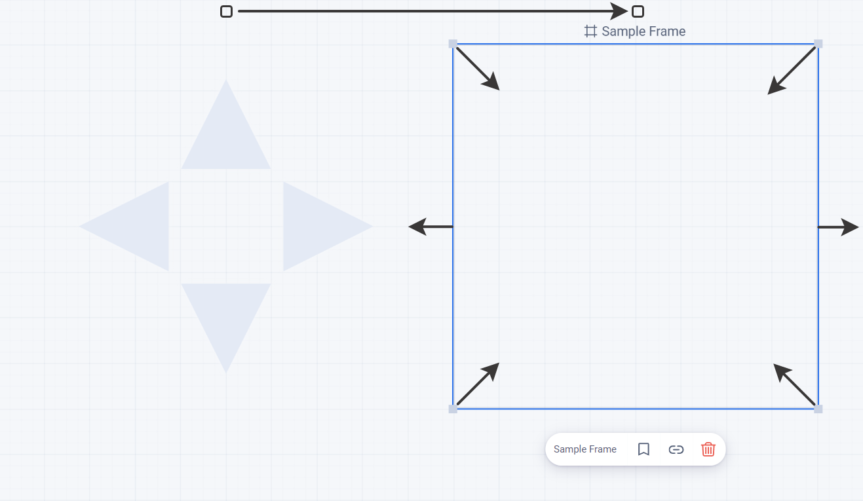
A non-seleced (non-highlighted) frame can be moved with all its content.
When the frame is selected (highlighted), you can change its size and move it without the content.
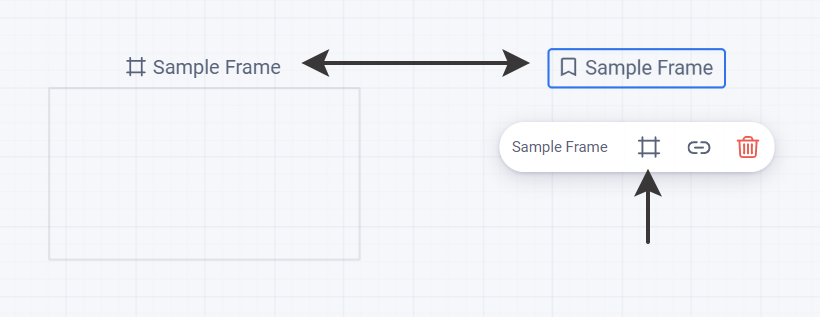
Bookmarks and frames can be transformed into each other using their context menus.
Stay productive! Just a small reminder that we have this information organized at Weje board about navigation.