Are you finding it difficult to explain what needs to be done to your coworker? Do you want to create a step-by-step guide for using your product or app? Do you want to show someone the messages you have received? Do it all with screenshots.
Screenshots are the best type of visuals you can share with your coworkers and friends. If you are new to using a Mac computer, these are the essential tips and tricks to know. Please note that after you have taken the screenshot, you will find it saved on the desktop. So, unless you have changed the save location, you don’t have to wonder where can I find my screenshots on Mac. You will see it on the desktop.
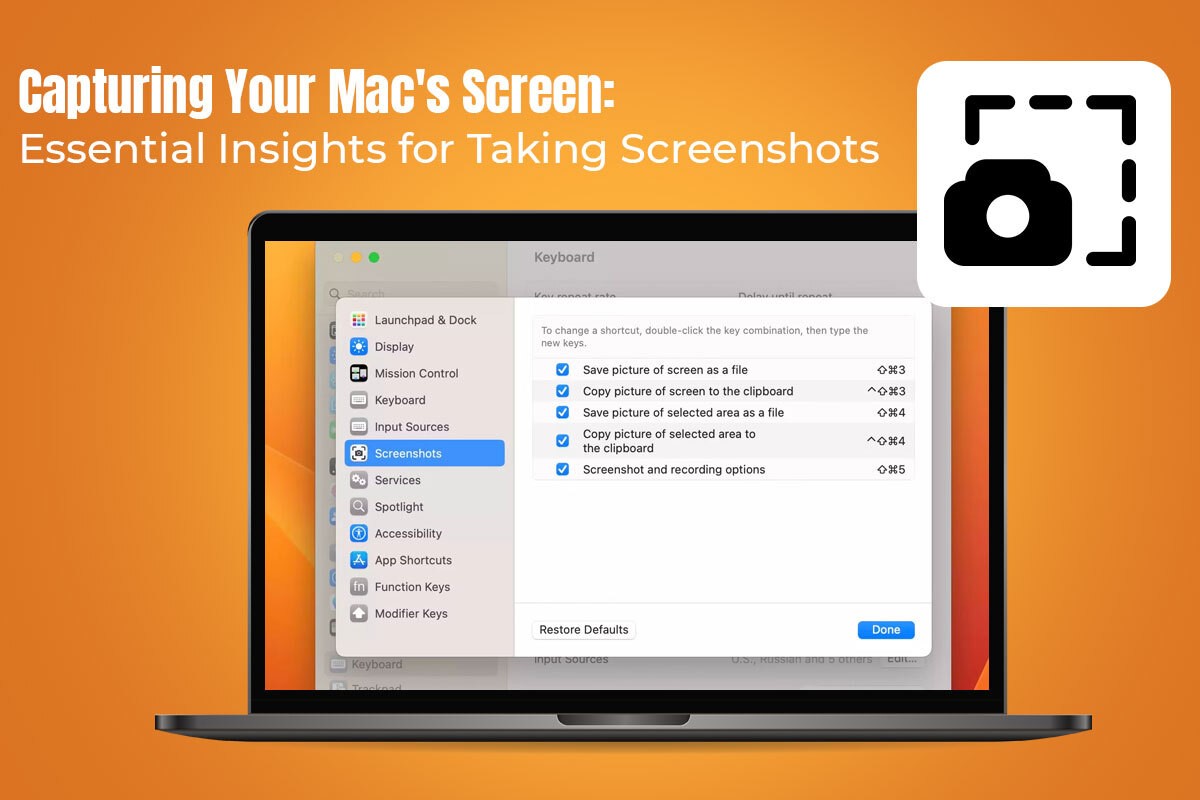
Use keyboard shortcuts to take screenshots
The quickest way to take screenshots is using keyboard shortcuts. These are the following shortcuts to use:
- • Capture an entire screen – Capture your desktop instantly by pressing Command + Shift + 3. The screenshot will include the menu bar, Dock, and everything on the screen. You might even hear the capture sound, and the preview will be seen in the screen’s bottom-right corner. You can click on the preview to quickly access editing tools. Then, you can edit the screenshot according to your requirements.
- • Capture a window – If you do not want to capture the entire screen but a window, press Command + Shift + 4. You will see the cursor becoming a crosshair. You can change the cursor to a camera icon by pressing the Spacebar. Hover the camera icon over the window, and you will see the window appearing as a light blue overlay. You can click on the window to capture it, and then the screenshot will be saved on the desktop. With this method, you can capture the menu bar, the desktop, or a menu.
- • Capture a specific area – If there is a specific area on the screen you want to capture, press Command + Shift + 4. The pointer will become a crosshair, and you can choose the specific part of the screen you want to capture. Then, let go of the mouse once you have made your selection. The screenshot will be saved on the desktop.
Use the Native Mac Screenshot Application
Are you running macOS Mojave or later? If so, you can use the native screenshot application on your computer. This application offers more control and options for taking screenshots. With the app, you can take screenshots after a delay of five to ten seconds. You can use this delay to open a menu or other things you may want to do before taking the screenshot.
You can find the Screenshot application by opening the Launchpad on your Mac computer. Then, enter the app name in the search box and press Enter. Once you see the application, double-click the app to launch it.
You can also launch Spotlight Search by pressing Command + Spacebar. Then, type Screenshot in the search bar, and the application will appear in the results. Click to open the application. Capture screenshots as you like and then edit them before sharing.
If you use the Screenshot application regularly, you can keep it in the Dock. Right-click on the application and choose the Keep in Dock option from the menu.
Use Preview to Capture Screenshots
Preview is another application you can use to capture screenshots. This application is primarily used as the default tool to open pictures and PDFs. The tool is also used to edit PDFs and photos., annotate documents, etc.
A lesser-known feature of this application is capturing screenshots. You can open the picture whose screenshot you want to take in the Preview application. Then, go to the File menu in the application and select the Take Screenshot submenu. Depending on your preferences, click on the selection mode. Once the screenshot is clicked, you can name the file before saving it to a preferred location.
Please note that taking screenshots using keyboard shortcuts or the Screenshot application is far quicker. But Preview allows users to name the screenshot file and also choose their desired location to save the file. The other two methods save the screenshot on the desktop by default.
The Bottom Line
Learning how to capture screenshots on your Mac is essential in enhancing collaboration and productivity. The screenshots can be saved and edited before they are shared with friends, colleagues, or team members. You can share the screenshot via AirDrop, iMessage, Slack, email, etc.
Although taking screenshots on Mac is fairly easy, the native functionality comes with limitations. If you want advanced features, it would be better to consider third-party screenshot applications, such as Snagit or Monosnap. These applications are made for capturing better screenshots and come with an array of editing tools and file conversion options.
Published: September 15, 2023