Many works shift towards a digital environment, and teaching is not the exception. Internet and cheap communication and collaboration software has allowed teachers to conduct classes sitting in front of their Web cameras miles away from students. Ones who school in classrooms neither neglect using the software. In 2021, it’s hard to imagine learning without shareable folders, Google Docs, PDFs, and online knowledge assessments. And the first step to benefit from computerized education is to organize digital files handily and with forethought.
Organize by Subject
Supplies for schooling don’t consist of printed books and lesson plans alone. They may include a collection of distinct papers needed to explain topics to students and assess what they’ve learned:
- manuals on how to use the equipment, e.g. microscopes or ammeters
- printable interactive assignments
- handouts
- test papers
- images
- video tutorials
- links to educational resources, etc.
There are many approaches for teachers how to organize digital files. First, there’s a fork – to keep information on ones’ hard drives or in cloud storage? Some schools may prohibit copying certain data to customary file depots, like Google Drive, or removable storage devices, like memory cards. This veto may apply to sensitive information about students, e.g. their religious beliefs or psychological assessment result.
Next, teachers have to decide about the cataloging system. And the most obvious approach is – to group teaching files in computer folders based on themes. Thus, once you need to prepare a new learning program, you can list topics to be covered during the year or half-year, refer to respective folders, and compose plans for particular lessons.
It’s up to you what level of generality to choose when organizing learning materials and naming folders. Remember that the more specific titles you assign, the more difficult it will be to browse files over again. So, try to generalize subjects and use self-evident titles. For example, literature teachers can name file folders according to common genres or eras of literature timeline, rather than names of writers or literary works.
Organize by Time
Use time-based files grouping when you already know the content of the learning course. This will allow you to put all topics in the desired order. Group digital files according to grading periods that your educational establishment has. Some schools use one of 3 common divisions of the academic year, these are two semesters, or three trimesters, or four quarters. Others may use custom grading periods lasting several weeks or so.
Time may be an intermediary criterion for grouping learning materials. Start with creating virtual folders for 2 semesters or other relevant grading periods. Then – fill out each with subfolders and name them according to themes. Finally, create additional dedicated folders for every week and fill them in with lesson plans, according to the “master” topic.
Organize by Standards
With this method, particular activities, rather than topics or time, become parameters for cataloging teaching files. Organizing by standards is an auxiliary method. It may be particularly helpful for primary school or humanities teachers who use a lot of interactive activities in the learning process.
List types of activities you face most often during teaching and/or want to implement with students. These may be: “New Topics”, “Brainstorming”, “Joint Projects”, “Group Discussions”, “Assessment”, and others.
Every time you find a new educational resource or learn a new teaching technique, save it into one of your standard groups. So, the next time you will prepare for a particular activity, all files will be at hand.
Organize by Usage
This method serves well for teachers who give different types of lessons, e.g. lectures and workshops. In this situation, it may be convenient to also group teaching files in the “usage” dimension – depending on for whom or for what purposes they are intended.
How else can you organize your digital files?
The above approaches of how to organize digital files cover a general storing algorithm. But where you keep information is no less important than how you store it. Teachers can choose from several alternatives:
- desktop storage
This way to organize content files is what we’ve all get used to. Despite all perks that specialized solutions offer, many continue depositing files on their computers. There’s nothing bad about keeping learning materials on hardware devices, it’s just a matter of convenience and ease of access.
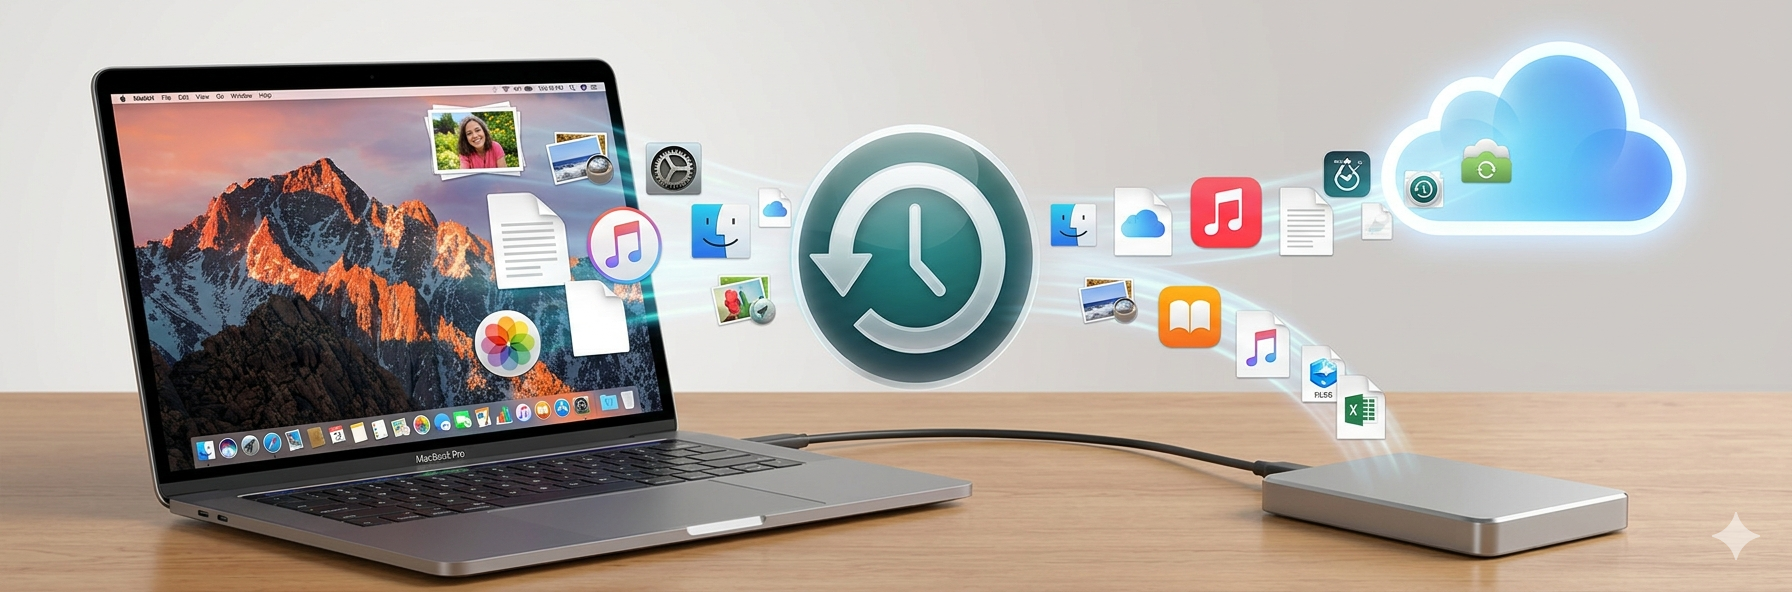
- file hosting services
Google Drive, Dropbox, OneDrive, and other file hosting systems bring a lot more flexibility to the education process. With these, teachers can upload, view, edit, and share learning files and QR codes with students. The access to information is controlled through permissions, and systems do backups and automatic sync across all devices. So, in case someone accidentally deletes important documents, restoring them won’t be a problem. If you’re curating lengthy readings and research papers, Knowt’s AI PDF summarizer quickly extracts key takeaways and generates student-ready notes, even from long PDFs, which you can save and share alongside the original file.
- digital whiteboards
These are online canvases that can be accessed via web browsers or applications. After users create their accounts, they get virtual boards with a designated digital “space” to upload and edit data objects. There’s a vast number of online whiteboards on the market, and, what’s no less important, many of them are free. So, you and your students can try several and pick up what best matches schooling objectives.
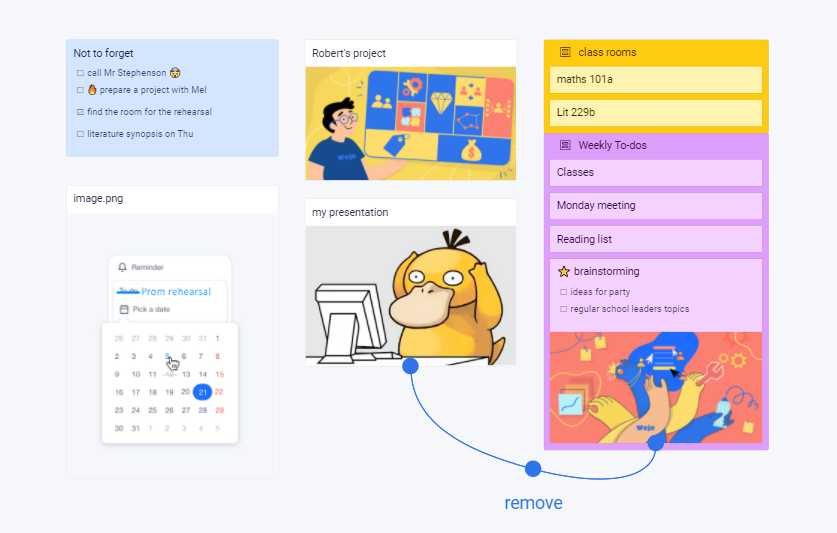
Online whiteboards have a range of facilitative options for organizing learning materials, including convenient data grouping and sharing. For example, when you create an online canvas in Weje, you can upload, preview, edit, and share any file type. You can also paste copied information from the Internet, e.g. links to YouTube videos, pictures, pieces of content, etc. After, you can group scattered information into cards with drag & dropping, download, and print them.
With online sticky notes, a drawing tool, and instant chat, you can interact with students and entice them to study even more. Create a distinct online board for every lesson. Write down summary and key takeaways, attach links to e-books or additional resources, like Harvard Business Review articles, create mind maps or schemes, upload presentations or embed educational videos, etc. Then, invite students to contribute. After the lesson, ask them to review the material and leave questions or comments on the online whiteboard, so you can discuss them the next time.
Published: September 22, 2021