What is user story mapping?
Story Mapping (AKA User Story Mapping) is a strategy used to bring more efficiency to the process of product discovery. It becomes handy specifically when you want to outline new products or new features to existing products.
In Story Mapping, the user stories are collectively organized into functional groups. Such approach becomes helpful in getting a clearer picture of the outcome. Also, it gives a detailed insight into the application that is in the making.
Facilitating product discovery and prioritizing the development work are the main purposes of using Story Mapping. With the assistance of Story Mapping, you can see how individual stories fit within the respective application. This whole process allows you to track the potential gaps. Moreover, it lets you decide the level of importance of each individual story. If you had the question “what is user story mapping,” the above introduction will give you an insight. In the next paragraphs, let’s learn about user story mapping in a detailed manner.
Advantages of user story mapping
As per the introduction itself, you might have already learned that using a user story mapping guide has various benefits. This section, however, describes the advantages of story mapping with more details.
- A user story mapping guide gives you a clear, easy-to-understand picture about the entire application. In fact, that is a pretty tough part when it comes to software development. Basically, story mapping explains what problems the respective application solves and how it matches the requirements of interested individual users. Every individual can contribute to create the story map.
- Story mapping allows you to have your application’s bigger picture and you can see it in full view. Many agile teams worry about “missing” big picture of the application and story mapping is the perfect answer.
- Developing a visible story map provides a significant encouragement to aspects like incremental and iterative development.
- A story map gives you the opportunity to enjoy the bigger picture of the application at your convenience.
- With proper story mapping, it takes only a glance to learn where a specific user story in the within the given system.
- It lets you decide where to start so you know what should be built at first. With a story map, you can select user stories that have different features and acquire a meaningful value from them once they are put together. In other words, it allows you to determine the scope of the project with no doubts.

- A story map eliminates the possibility of building an application that doesn’t necessarily work. That saves plenty of time, money and effort you would have otherwise put on an inoperable application.
- A story map gives you the opportunity to test it for potential gaps and then track what’s exactly is missing.
- With story mapping, you can easily prioritize decisions as it takes the entire system’s context into account.
- When you use a storyboard, you will no longer be staring at a single, isolated user story.
Who should participate in user story mapping?
Well, the concept of story mapping can be described as a collaborative exercise that allows you to streamline different teams that are cross-functional. Such strategy becomes very helpful when it comes to building products with more advanced features. Because of this specific reason, each team that contributes to the effective fulfillment of a customer’s value should have a representative.
The whole product experience may be mapped out in a user narrative map by including individuals of any of the teams are responsible for the product’s architecture. In a user narrative mapping process, these teams are commonly represented:
- UX and Design
- Sales
- Product Management
- Legal
- Finance
- Customer support
- Marketing
- OPS/IT
How does user story mapping work?
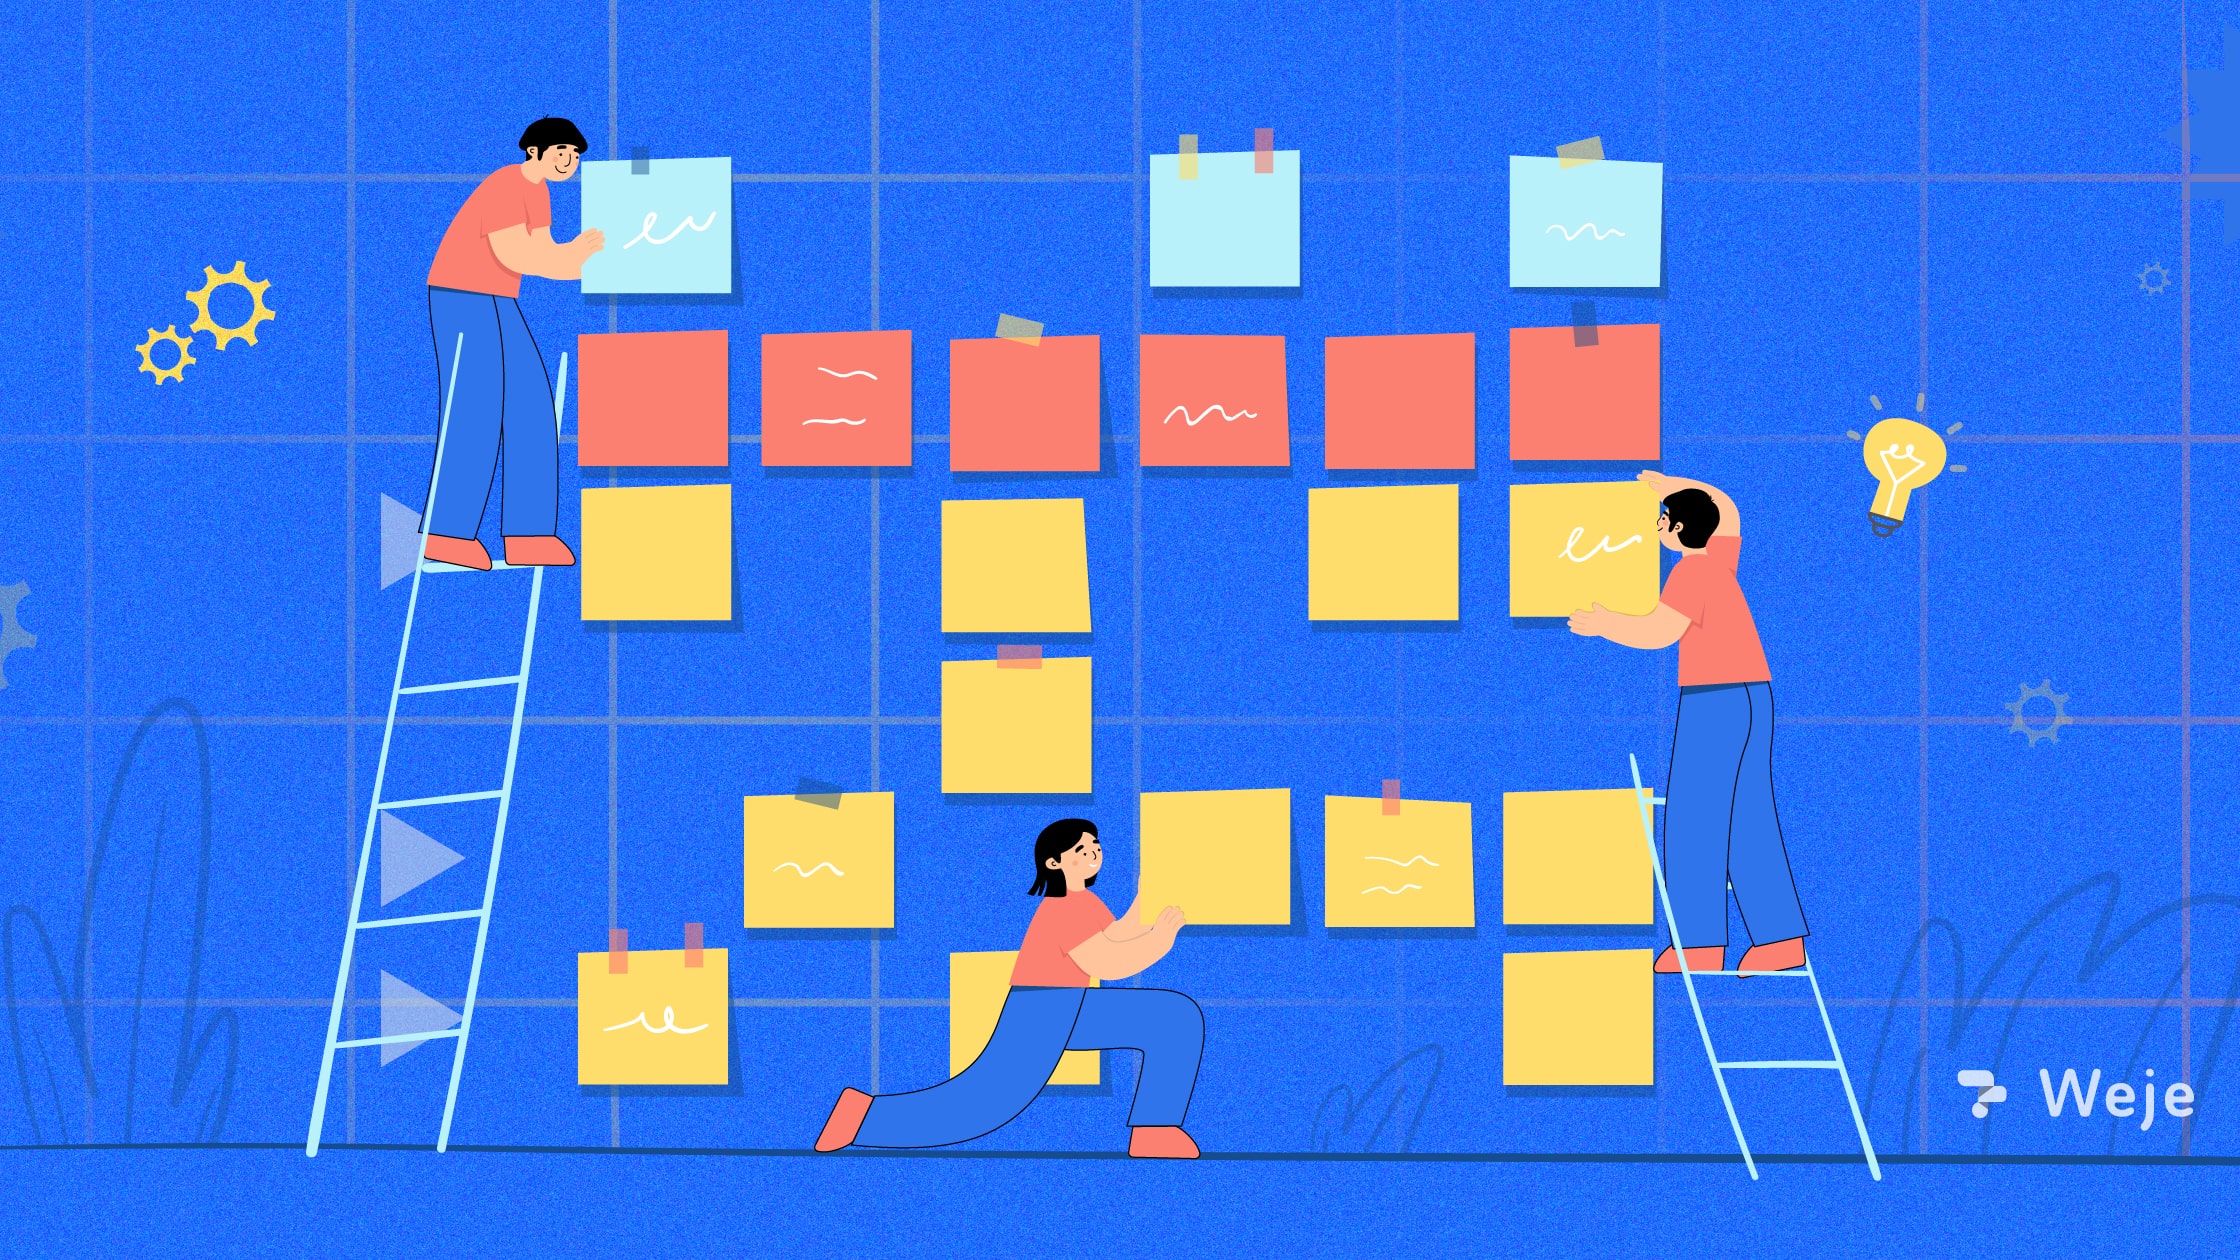
It all starts with the selection of medium that is used to build a story map. You can even use whiteboards or sticky notes. However, if you expect a flawless, effective story map, you can use a sophisticated, dedicated tool. Weje offers such an advanced tool to accomplish story mapping with ease.
No matter what sort of medium is used, users should follow the basic steps mentioned below.
- Identify the problem correctly
First, you should identify the issue for which you want a solution. Then, you can decide the actions that are needed to accomplish it.
- Define the target product’s users
What is your target audience? In some cases, you may have multiple audiences. So, be sure to know your exact audience before proceeding.
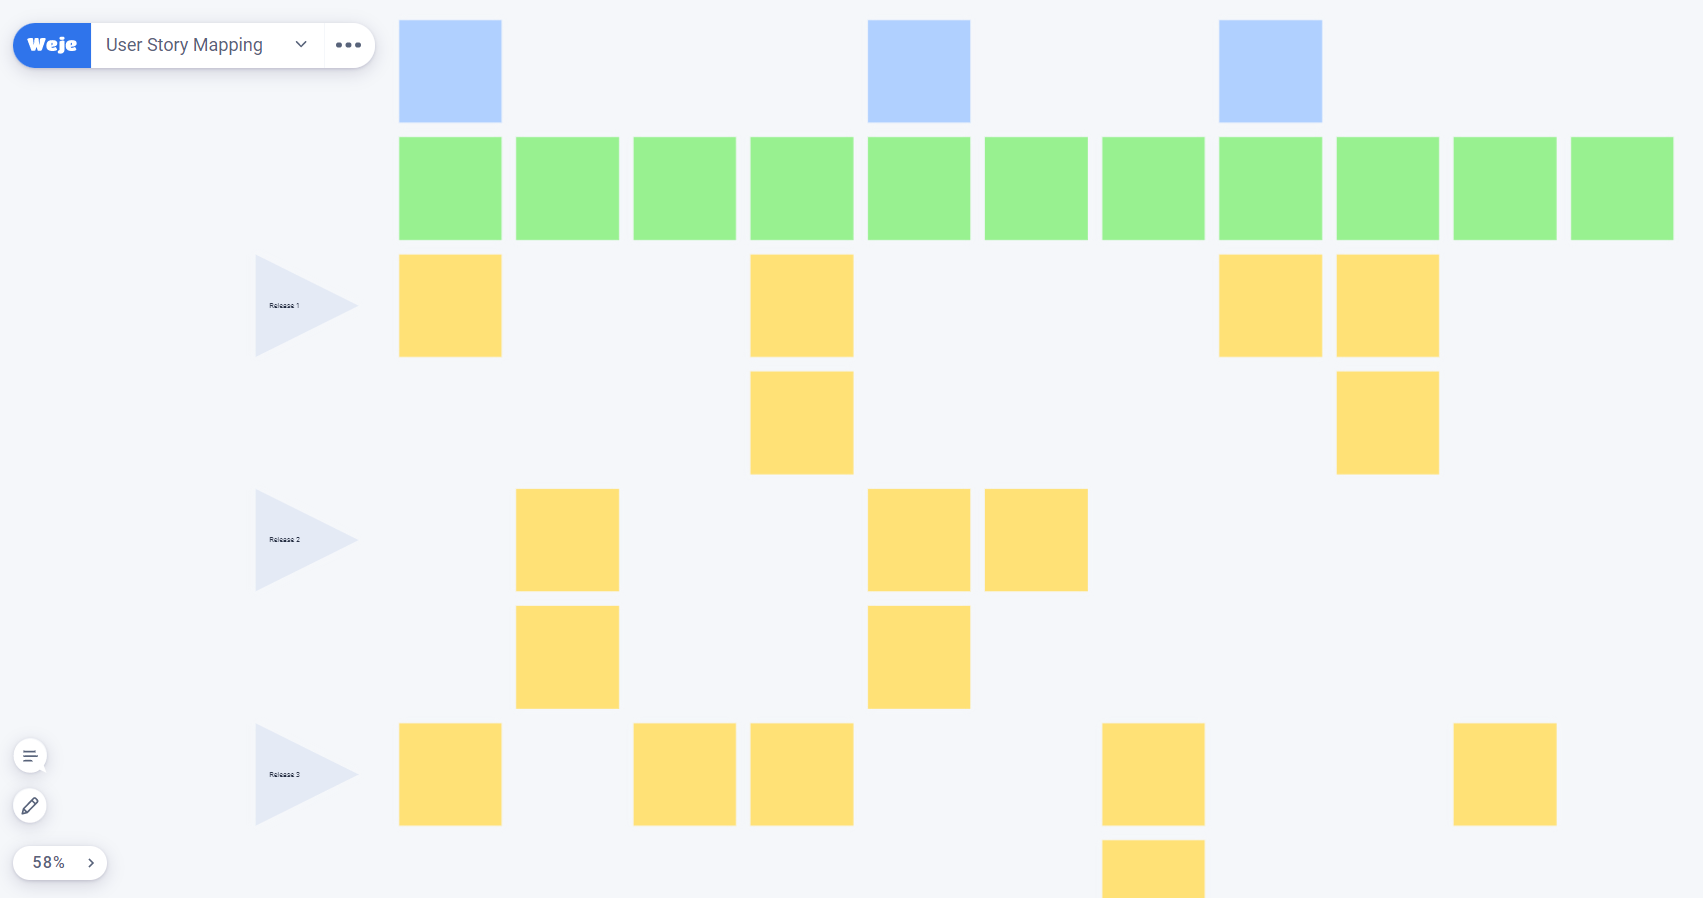
- Map the activities of the user
Well, users who involve with the product generally do it with a series of shared activities. They are usually called functions or themes. So, these activities should e mapped correctly. They should include the stories on top of the map.
- Map user stories under their activities
In order to create the map’s framework, break down each action or subject into small user stories after the foundation has been established and significant themes identified.
- Flow & Prioritize
The next phase is to prioritize the stories. You can rank them in the vertical way to get the most important options on top of the list. The flow can be represented from left to right. The products that have multiple user types should be represented their flow from left to right. Such arrangements help you differentiate the stories based on their importance.
- Identify the potential gaps and dependencies along with technical requirements
A story map offers you the option of identifying the bottlenecks, technical architecture, dependencies, missing information etc. This is exceptionally important when it comes to adding efficiency to the product. Also, you can enhance the usability and even introduce alternative solutions based on the output of the story mapping.
- Plans the releases
Now that the stories are prioritized, teams will be able to see the overall productivity and efficiency of each individual story. Then, they can be converted to development sprints along with product released. Eventually, a superb customer experience will be created with this process.
Challenges of user story mapping
Mentioned below are some of the potential challenges faced with story mapping.
- There’s no specific, predefined customer.
- There’s no clear, specific problem to solve.
- Physical story maps created using sticky notes and whiteboards have limited utilization ability. In fact, they are incredibly hard to be updated. However, this problem can easily be resolved with a smart, digital solution like Weje.
- There’s a potential to redundancy when it comes to story mapping. When recreating the map overcoming the issues, the users might feel as if they are repeating the same steps that leads to boredom.
What problems does story mapping solve?
User stories are often added to Scrum’s backlog or even a Kanban board once product discovery is complete. When the build order has been determined, it’s quite acceptable to lead the development effort.
But the backlog management features of these solutions fail to meet the needs of product & release management. As a result of the backlog being displayed as a flat list. There is some benefit to filtering, categorizing, and color-coding, but you will never get the full picture. An easy-to-follow layout for user stories is the solution provided by Story Mapping.
How to create a story map in simple steps?
- Big stories should be initiated
Find the big stories and the main user activities the application should be supported. We call them “big” as they have so many steps. Write every single activity on cards. Then, place them in a logical order.
- Crack the boulders
Each user activity’s story should be broken down into mini (smaller stories). These are user tasks. Place those user tasks under the respective activities maintaining the correct direction. That’s how to create the story map’s backbone.
- Look for flaws
There can be some flaws in the map if you have created a manual method to create it. So, get the assistance of someone else in the team to recheck it. In fact, this is somewhat similar to a debugging process. Be sure to annotate the map according to the comments or information received by others. That will make your product a flawless one.
- Prioritize
Now, you should prioritize the tasks as well as the sub-tasks related to each activity.
- Create the “beta” version
Start creating the first version of your product. It should work end-to-end despite the rudimentary characteristics and functionality. Well, this is tour Minimum Viable Product (MVP).
- Keep Sculpting
Identify the flaws and bugs and plan the subsequent releases as well. The remaining tasks must be prioritized and be sure to consider the input of others when rechecking.
The entire process, however, can be easily simplified using a high-end platform like Weje. It offers an excellent template to minimize the efforts and clutter. Create your virtual story map with a help of Weje. It is a much more efficient and simpler approach compared to the manual whiteboard/sticky notes method.
Pitfalls and mistakes in story mapping
- Working with a customer who necessarily don’t have any awareness of the respective work.
- Working with no clear, predefined goal to solve.
- Not keeping the respective map visible
So, that’s all about what is and how to use user story mapping.
Published: February 8, 2022