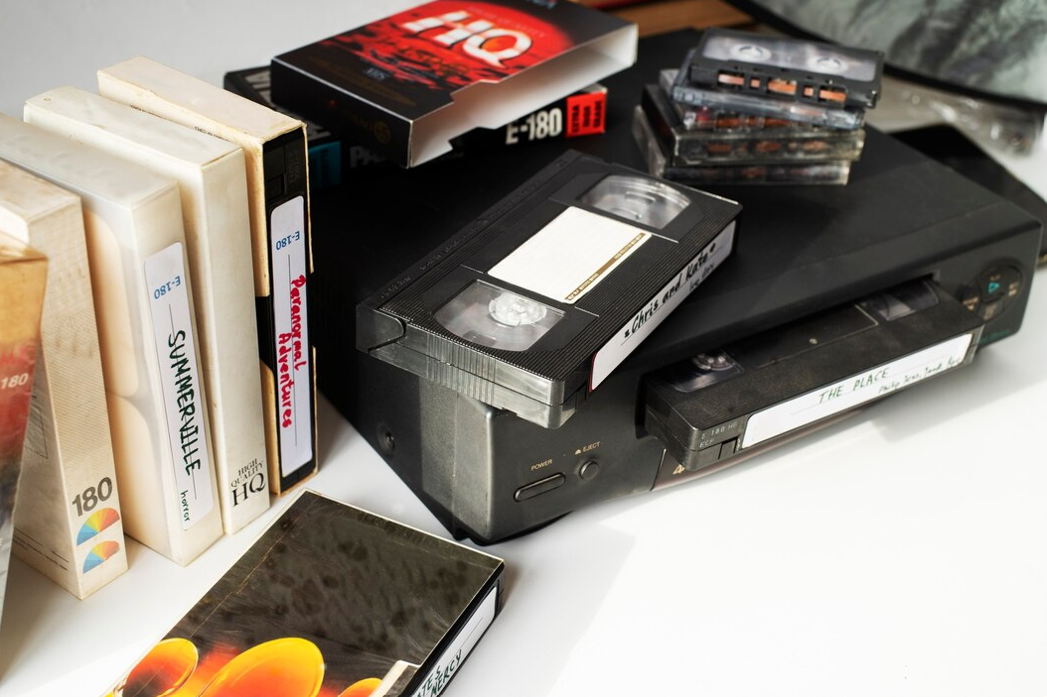
Lots of institutions have old VHS tapes that store their most precious moments. These are memories from corporate events and industry milestones to vintage TV shows. However, time has no mercy on anything. These relics are very vulnerable.
As magnetic tape degradation is threatening to erase these memories forever, it’s high time to digitize VHS content to preserve your past. Nonetheless, it’s only half the battle to convert VHS to digital. It’s vital to organize and storyboard the legacy content effectively so that you can bring those memories to life once again.
Why digitizing VHS content is crucial
Before we even start talking about the best ways to organize and storyboard VHS content, we should understand why digitization matters so much. Tapes degrade over time. They lose quality and sound fidelity.
When stored properly, they can be safe and sound for more than 15 years. Hardly anyone stores old tapes properly. They have long since taken their place in the garage and are waiting for their moment. Thus, home-stored tapes are already showing signs of wear.
And digitization is the only way to save them from oblivion. However, it also opens new opportunities for you as you can:
★ Edit and enhance your movies. Modern video editing tools allow you to clean up visual noise, restore colors, and even improve audio. To pick the right noise reduction and EQ tools, review audio tech trends shaping restoration workflows;
★ Share memories with others. Digital formats allow you to share precious memories with other people on social media or cloud platforms.
Besides digitization, there might be real treasures among your VHS tapes. There are collectors in search of rare movie tapes who are eager to pay thousands of dollars. For example, the first release of Star Wars on VHS was sold for more than $110.000.
Prepare your content
Before you start editing your old footage, you should focus on preparation:
➢ Sort your tapes. If there are many tapes, it would be smart to label them so that you can easily figure out what’s on tape when you start editing. You can use descriptors and then create a spreadsheet or a catalog.
➢ Digitize the footage. You should find a reliable VHS-to-digital converter so that you can transfer footage to your device. It’d be better if you save files in MP4 or AVI as it’ll provide better editing flexibility.
➢ Make copies. As they say, better safe than sorry. No one is immune to accidental loss. That’s why it’d be smart to make copies of files and store them on multiple platforms, be it external hard drives or cloud storage.

Organize your digital footage
As soon as you digitize your content, you should engage in organizing it for efficient editing. You should do the following:
● Review and trim footage. If there’s a project you’d like to prepare, you should watch all footage in advance and note timestamps for scenes you’ll need.
● Remove unnecessary clips. Without proper organization, there will be clutter. You can avoid it by removing irrelevant or repetitive clips.
● Categorize footage. You can group videos by theme be it corporate events, holidays, interviews, etc.
Storyboarding for modern editing
Before you dive into editing, you should take advantage of storyboarding to map out your video’s narrative. Here’s how you can do it:
❖ Define the goal of your video project. You should clearly define the purpose of your project. Would you like to create a reinterpretation of past footage, support your training materials with time-tested tutorials, or create a nostalgic corporate movie?
❖ Break your video into chapters. Decide on the introduction, main content, and conclusion of the video.
❖ Include visual and audio cues. Form an idea of what transitions, effects, and audio elements you want to include.
Summing up
Digitizing and editing legacy content is more than just a technical process. It’s an opportunity to reimagine the past. You can transform old VHS footage into captivating narratives that will resonate with your audience.
Published: December 26, 2024


