Most people think about backing up their Mac right after losing a file, not before. A spilled drink, a failed hard drive, a ransomware attack — any of these can wipe out years of work in seconds, and no amount of frustration brings that data back.
The good news is that macOS comes with a capable built-in backup tool, and the cloud has made off-site protection easier and more affordable than ever. For anyone who stores important files, photos, or work documents on a Mac, having more than one backup method running simultaneously is the smartest move.
Below, I’ll share three different ways to back up a Mac—each covering a different angle to ensure nothing falls through the cracks.
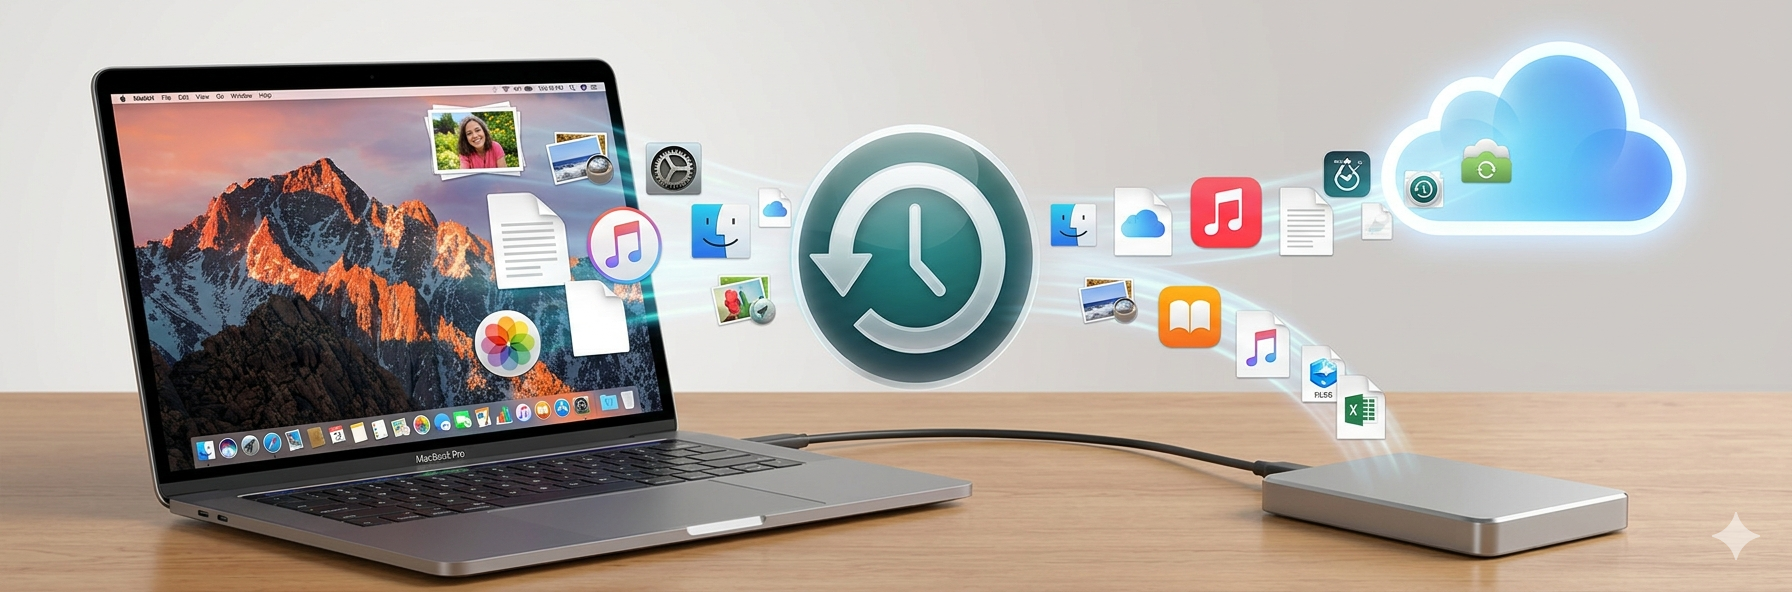
Time Machine: Apple’s built-in backup tool
Time Machine is a built-in macOS feature that automatically backs up your files (apps, documents, photos, emails) to an external storage device. It enables hourly, daily, and weekly backups, creating, retaining, and managing local snapshots or external backups.
Setting up Time Machine takes minutes. You first have to connect an external hard drive to the Mac and follow these simple steps:
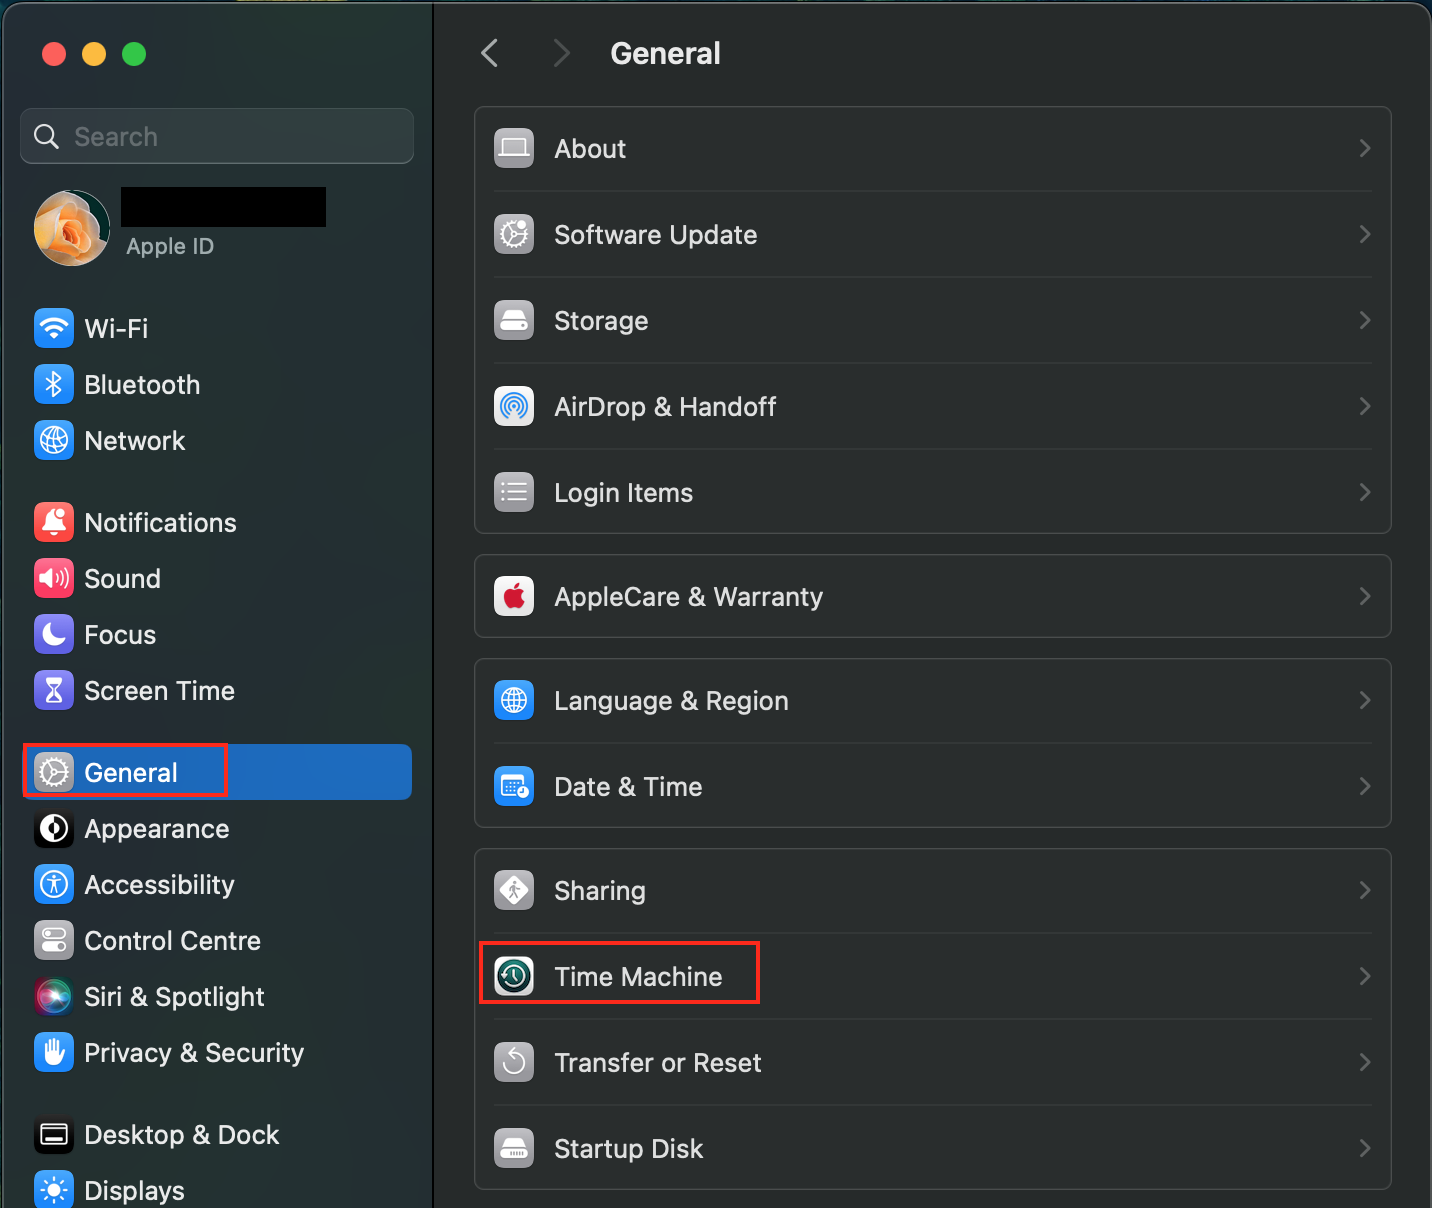
- Go to System Settings > General > Time Machine.
- Click on Time Machine > Add Backup Disk.
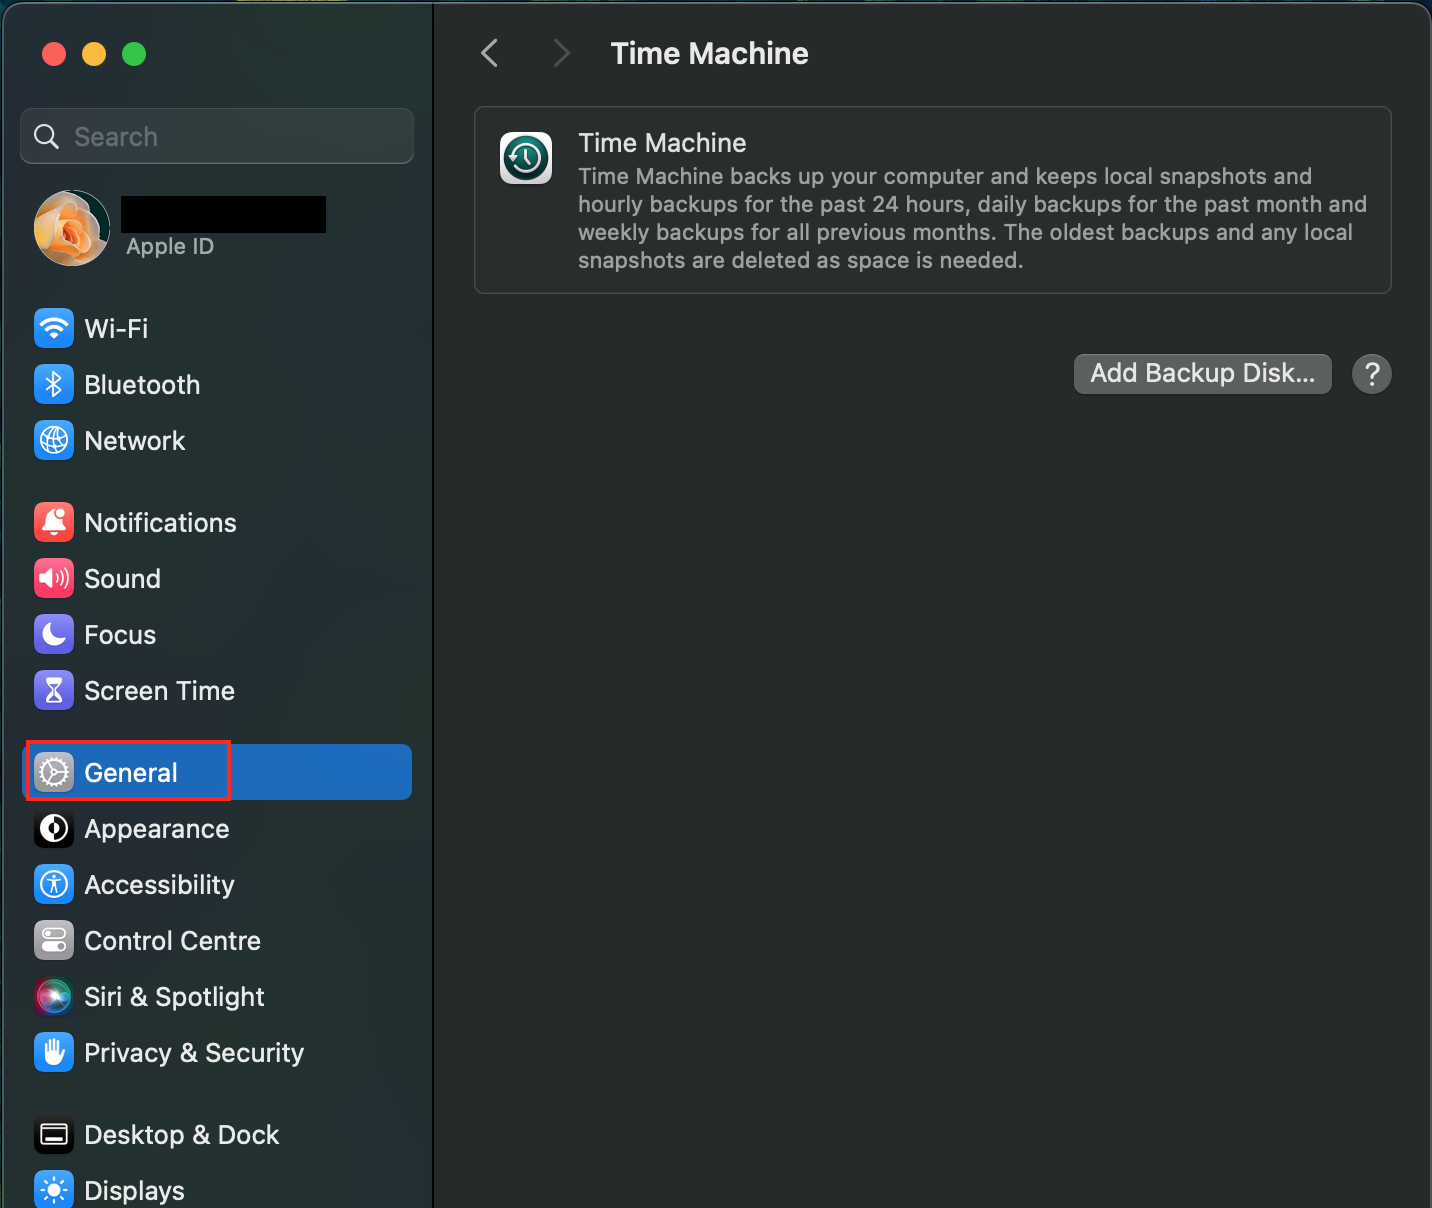
From here, select the drive and turn on Back Up Automatically. Time Machine will start running in the background without prompting. It saves hourly backups for the past 24 hours, daily backups for the past month, and weekly backups for everything older than that.
Time Machine also automatically removes older backups when your Mac needs more storage space. However, there are occasions when you may need to do the heavy lifting and clear Time Machine backups manually to create more space for important files.
It all depends on your needs at the time, and one of the best ways is through the Time Machine interface itself, Finder, or Terminal. Time Machine’s only limitation is that it only protects against what can be recovered from that physical drive.
If the Mac and the external drive are both damaged and stolen, the backups go with them.
iCloud Drive: Cloud backup that travels with the Mac
iCloud Drive solves the problem that Time Machine cannot: off-site storage. Because files sync to Apple’s servers, they are safe even if something happens to both the Mac and any external drives in the same location. This is fundamentally different from a local snapshot: not a local snapshot, but a live, remote copy stored across Apple’s infrastructure.
iCloud Drive continuously syncs selected folders to the cloud. Apple makes it easy to include the most important locations on a Mac:
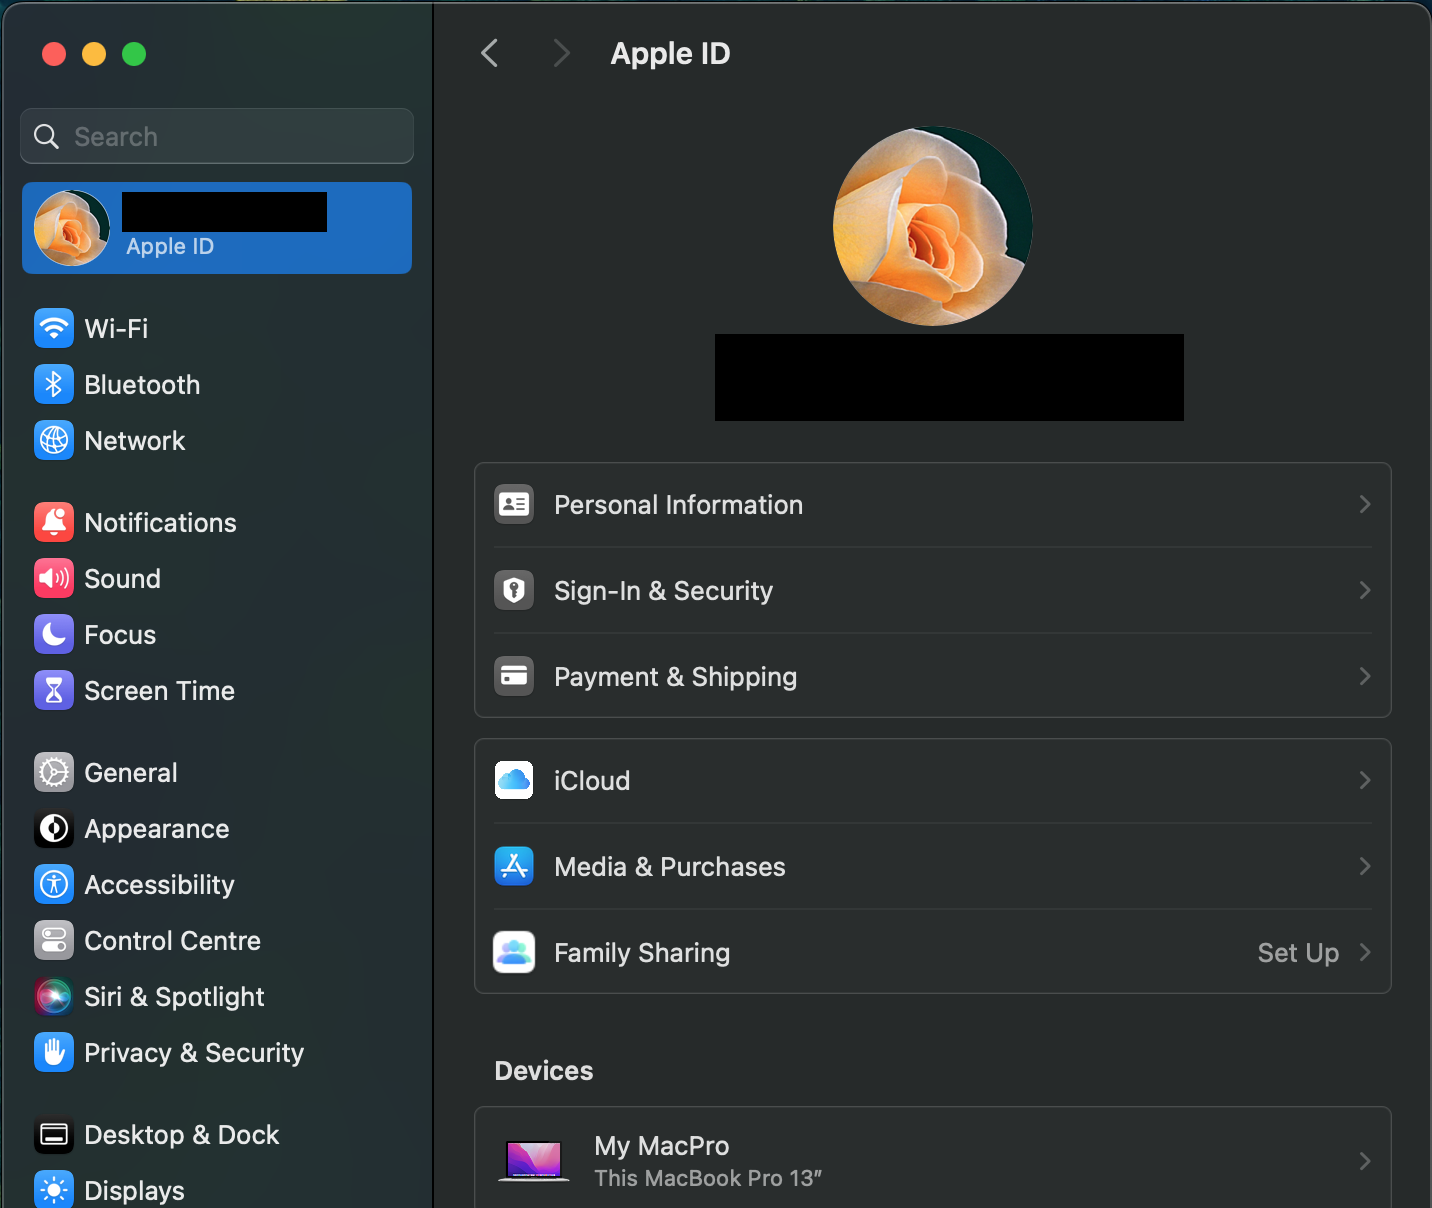
- Open System Settings > click on the Apple ID
- Select iCloud > iCloud Drive and toggle it on.
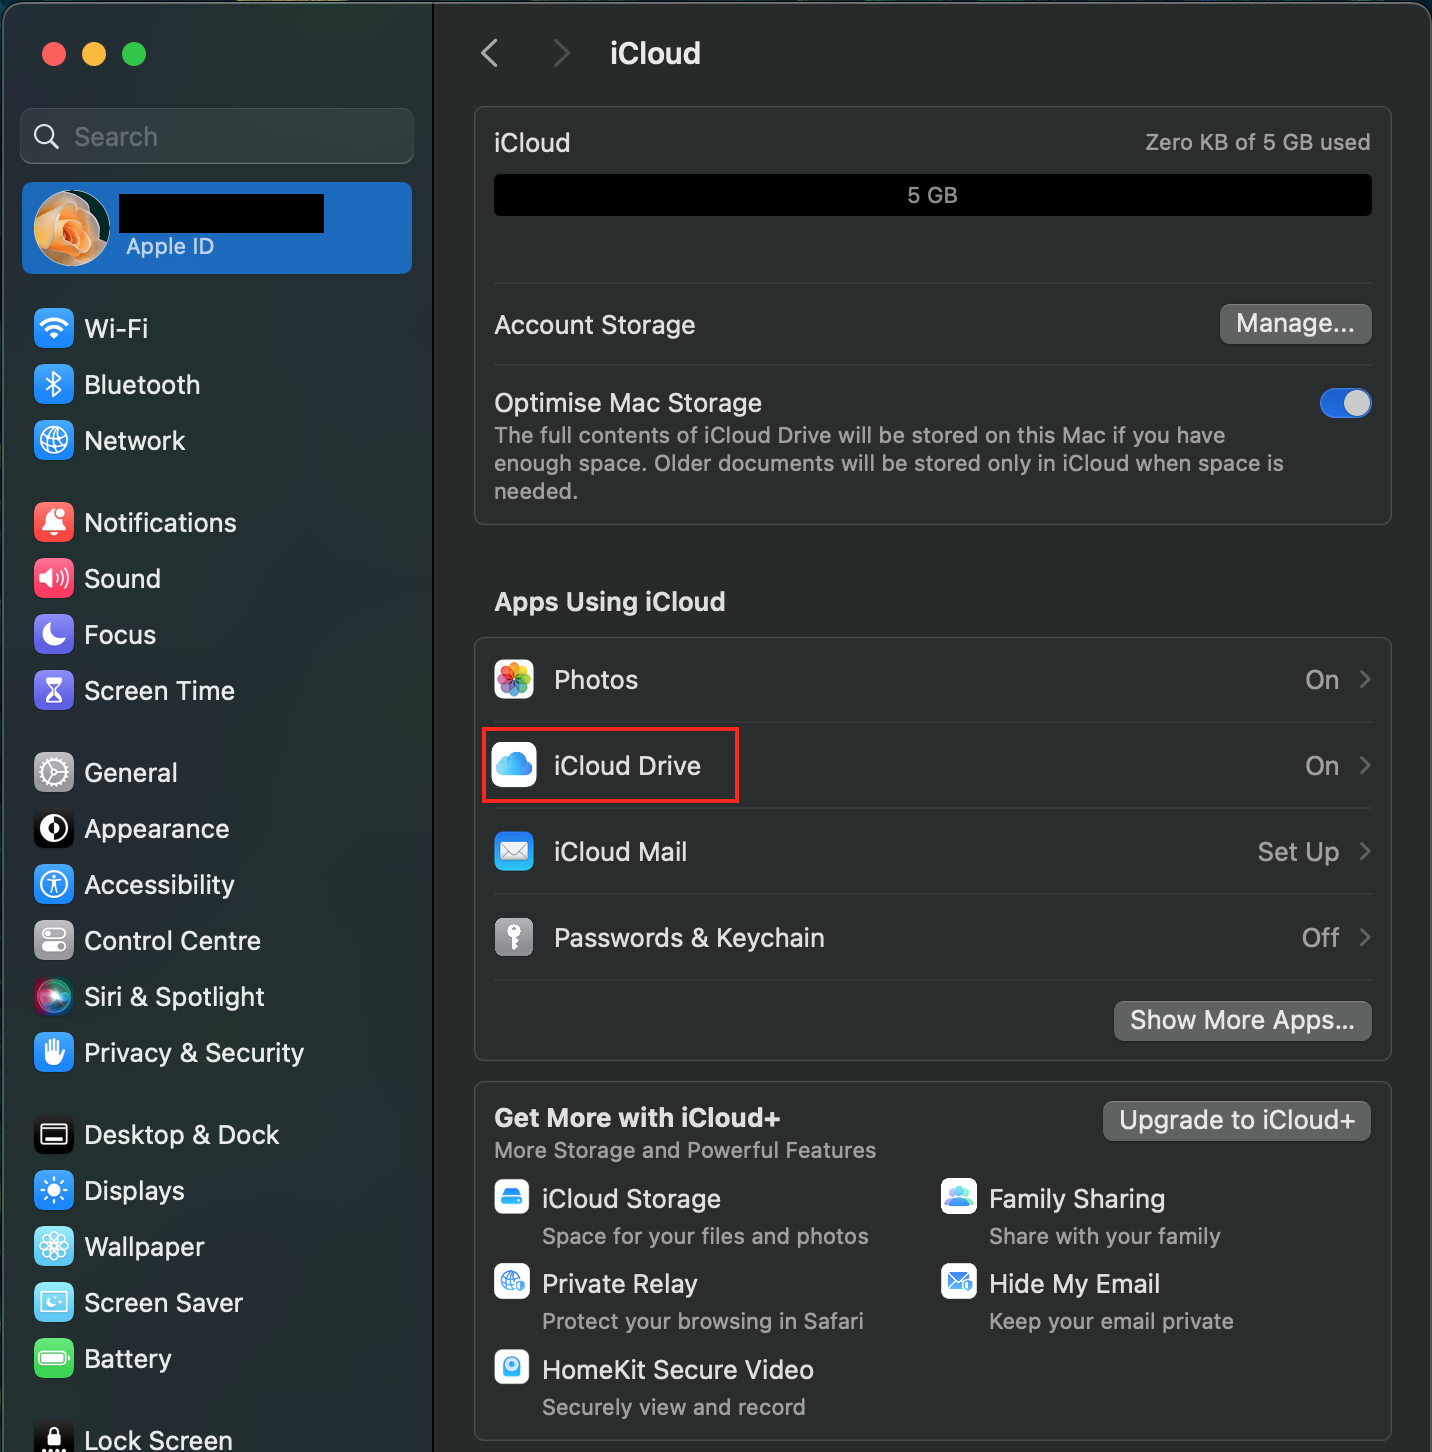
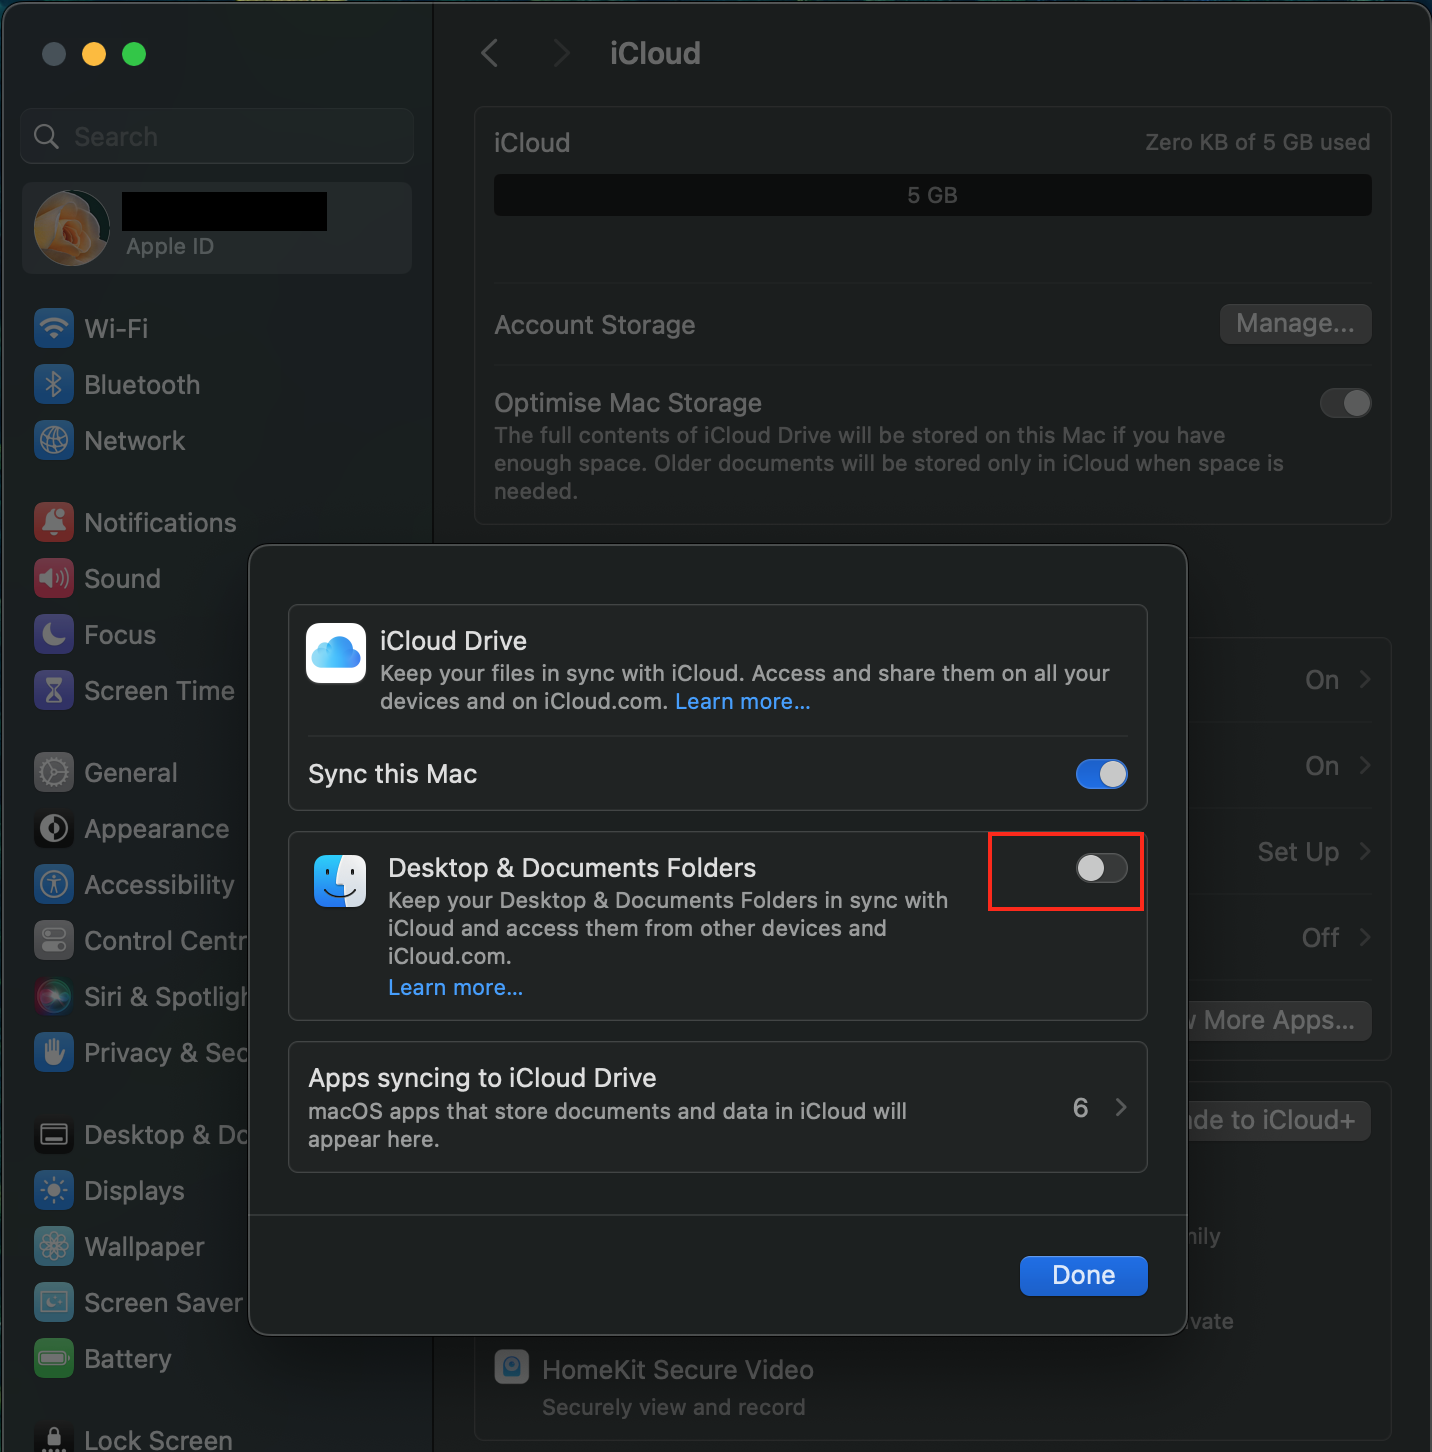
My advice at this point is to click Options, then enable Desktop and Documents Folders to keep them synced automatically. Every file saved to the Desktop or Documents folder on the Mac is also stored in iCloud.
If you accidentally deleted something three days ago, iCloud keeps deleted files recoverable for up to 30 days. Alternatively, if you’re working across multiple Apple devices, all your files will be available on iPhone and iPad too.
The free tier gives 5GB of storage, which fills up fast for anyone with a serious photo library or large project files. Upgrading to iCloud+ may give you more room, and for most Mac users, the 200GB plan hits the right balance between cost and capacity.
Another thing I’d like to note is that iCloud Drive isn’t a full system backup like Time Machine. It doesn’t capture app data or system settings. Think of it as a highly reliable safety net for personal files, documents, and photos rather than a recovery tool for a completely crashed Mac.
Third-party backup services: Full-system cloud protection
If you want the kind of total cloud-based Mac protection that iCloud Drive offers, third-party backup services will go further still by silently backing up everything on your Mac. This includes everything from apps and settings to system files and personal data, and even remote servers.
So if you ever need to restore after a complete failure, you’ll get your entire Mac back exactly as it was before, not just your documents.
If you’re already in the Google ecosystem, you can back up specific folders with Google Drive and its Backup and Sync feature. Like a sync service, Dropbox also functions as a version-history tool, keeping older versions of files recoverable for up to 180 days on all paid plans.
From my experience, the advantage of a dedicated 3rd party service over iCloud Drive is depth. Many third-party backup services, for instance, capture the kind of files that iCloud skips entirely, making it a better option for professionals, photographers, or anyone managing large volumes of data.
Paired with Time Machine for local recovery speed and iCloud Drive for everyday file access, a third-party backup service completes a three-layer strategy that covers almost every failure scenario you can imagine.
Final thoughts
No single backup method covers every situation perfectly, and that is exactly the point. Time Machine handles fast local recovery. iCloud Drive keeps personal files safe in the cloud and accessible across devices. A third-party service will provide the deepest level of protection for everything on the Mac.
Running all three together takes minimal setup and very little ongoing effort, but it means that no matter what happens, getting back on track is a matter of hours, not weeks. The only backup strategy that ever fails is the one that was never put in place.
Published: May 6, 2026